The Pedro Alerts feature is a new feature we would like to test with the user community. The alerts system enhances Pedro's ability to check your data files for errors and to allow scientists to discover who else might be interested in their work.
An alert is a set of matching criteria for a given record type that is associated with one of four intents:
As an example, suppose a data model has a record called "Specimen" which has the following fields:
We could make an alert with these matching criteria:
Using the editor, we can associate these criteria with an error intent: by definition, invertebrates cannot have spines.
Another alert could have these matching criteria:
We could associate these criteria with a request for contact intent. This would mean that if a record of type "Specimen" had these matching field values, it would be of interest to some other user.
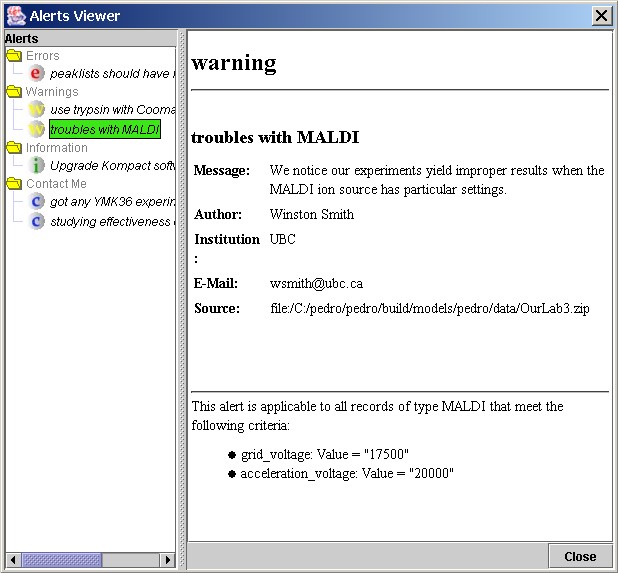
The following screen shot shows what an alert for proteomics might look like:
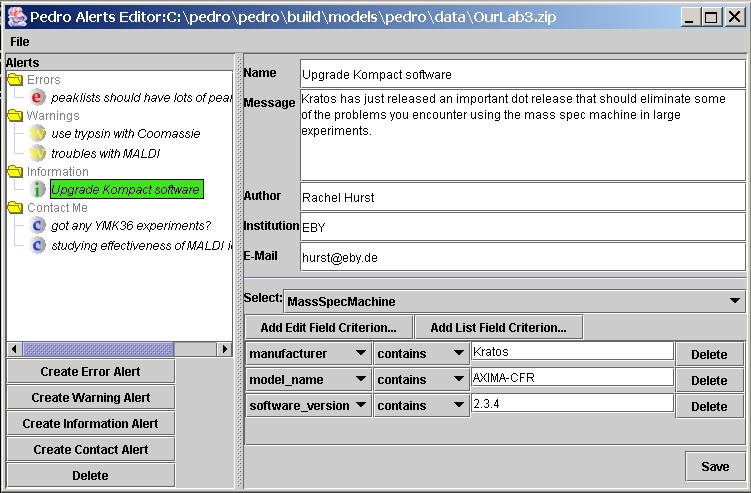
The matching criteria appear in the lower part of the right-hand portion of the editor. The intent type here is an Information Alert. The fields in the top right part of the right panel describe the message the author wants to convey to other scientists whose work fits with the matching criteria.
Scientists in one lab can use the Pedro Alerts Editor to create a collection of alerts called an alert bundle. The alert bundle is a zip file that can store descriptions of multiple alerts such as the error relating to invertebrates and the request for contact relating to cyanea capillata specimens.
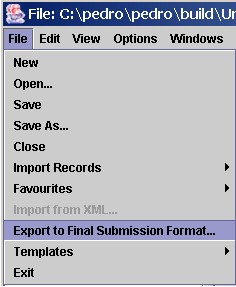
Other scientists using Pedro can optionally include the alert bundle in the process the tool uses to validate data files. At a minimum, Pedro performs checks on every record in the current file to ensure it doesn't violate properties described by the XML Schema. Errors could include situations where the user has forgotten to fill in a required subrecord or has typed letters in some numeric field present on the current form.
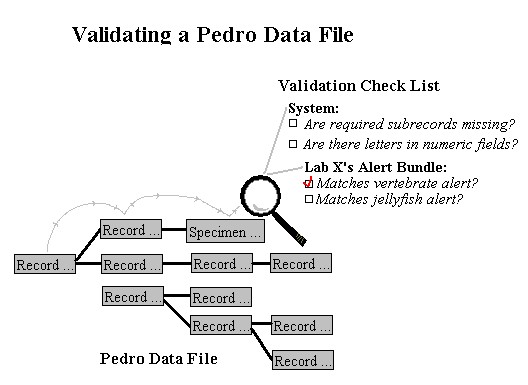
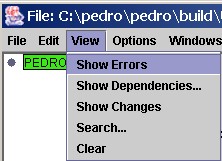
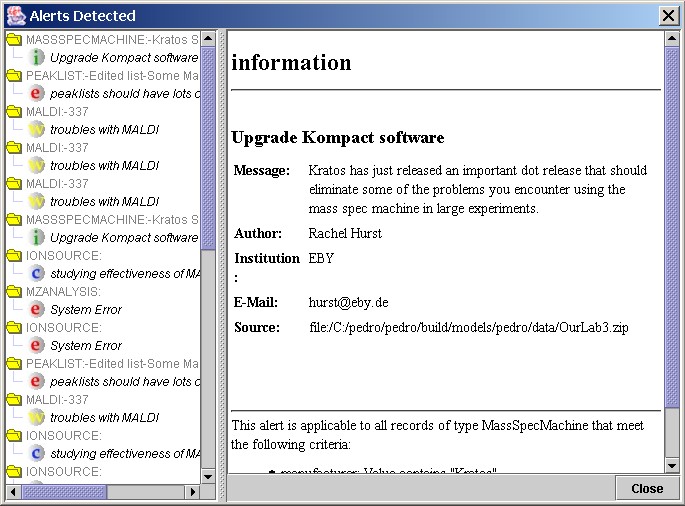
A scientist in one lab uses Pedro's Alerts editor to create a collection of Pedro alerts called an Alert Bundle. When users validate their data files, they can reference the bundle through a program feature. During validation, the application scans the records for whether any of them match any conditions specified by a Pedro Alert. Those that do will appear in a validation report that will list errors, warnings, information bulletins and requests for contact.
In older versions of the tool, Pedro's validation facilities were limited to situations where the file was incomplete or where an illegal value appeared in a data field. With the new alerts system, combinations of field values within the same record can be flagged as an error, a warning or conditions relevant to an information bulletin or to a request for further collaboration.
The alerts system allows scientists to communicate with each other in a way that doesn't intrude on their work. You won't be automatically e-mailed if you validate a file and it contains some features that are of interest to another scientist. The use of an alerts bundle is optional so you can exclude a bundle if you don't agree with advice supplied by the authors.


You can specify a URL for the .zip alert bundle or browse for the file by pressing the "Browse" button. In the release, check inside the pedro/alerts subfolder.